Once a load is in delivered status, it will populate in the AP under the ‘To Be Invoiced’ section and will be eligible for processing.
You have the option to customize how you invoice. In the Brokerage Settings section, you can choose to add a new “ready to invoice” status. This will allow users to mark shipments with this status so your accounting team knows all the docs are collected and they are good to generate an invoice.
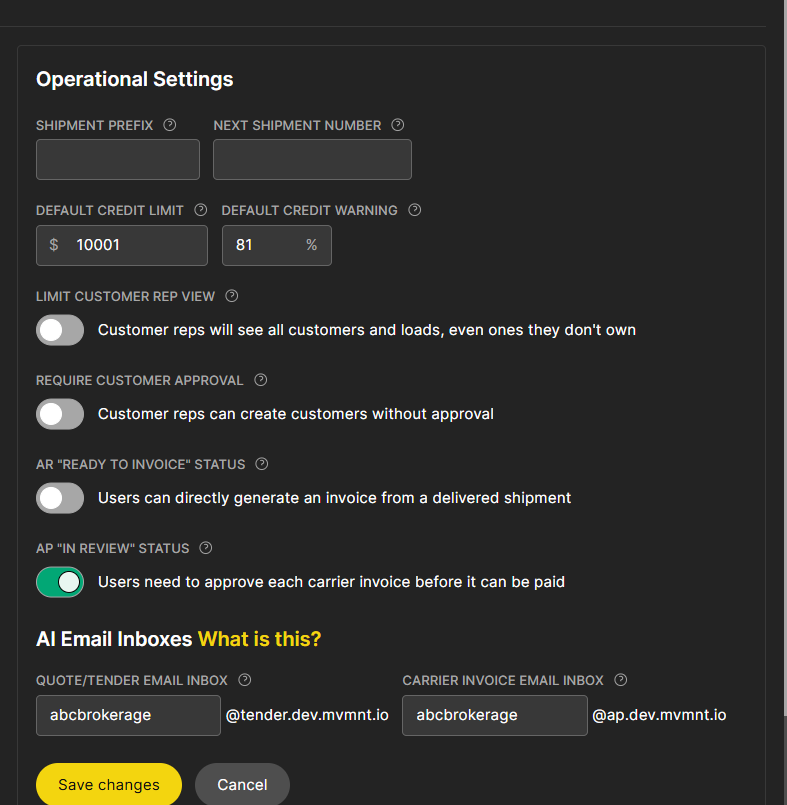
If not selected, then you are able to generate invoice directly after a load is delivered.
Click on the Order ID to review charges associated with the order and also to generate an invoice.
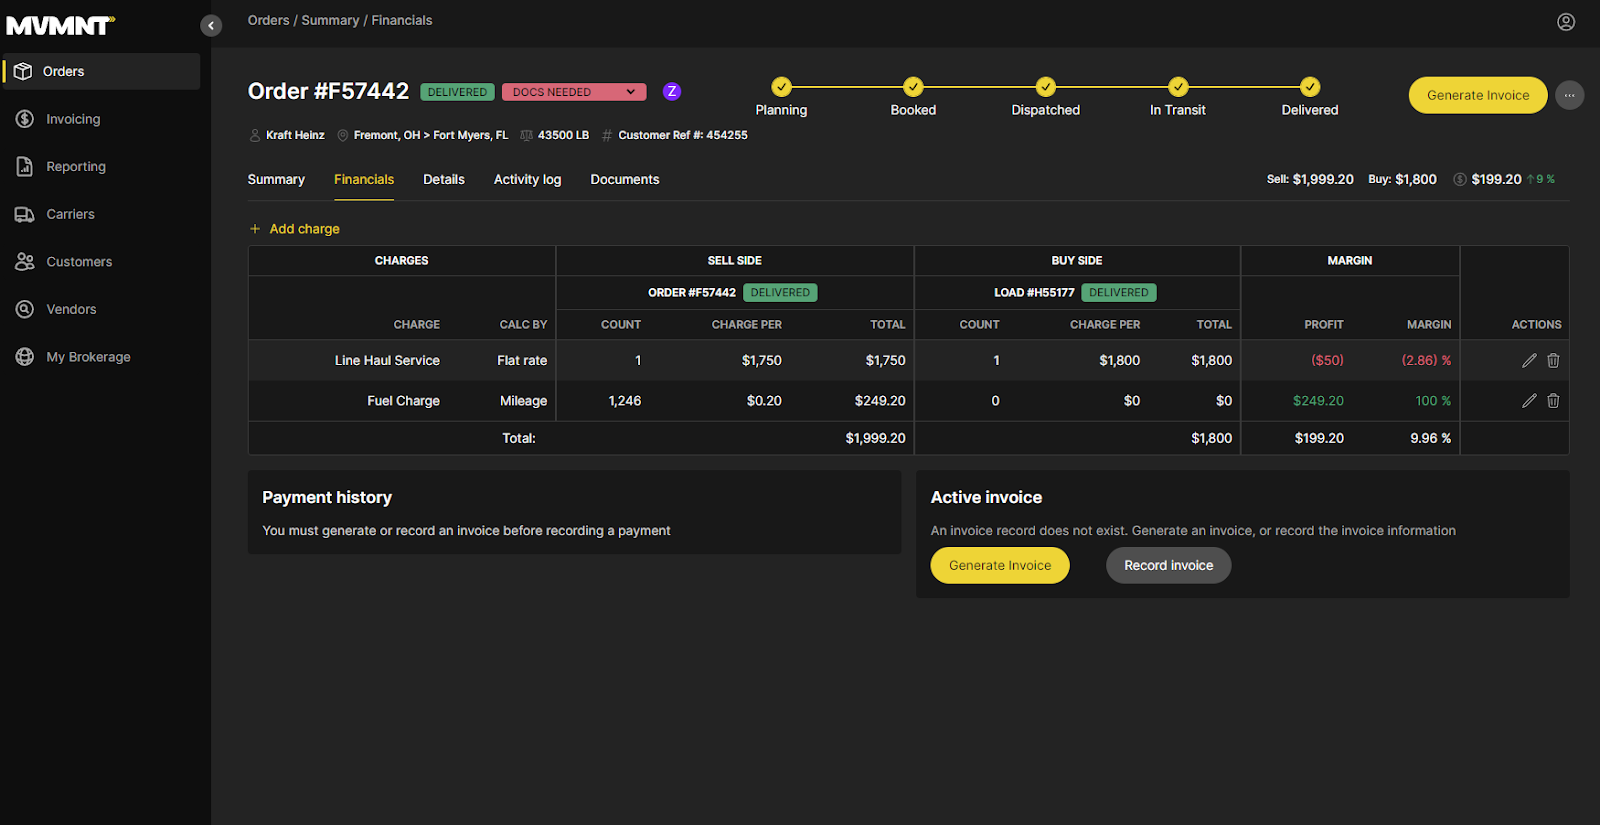
Choose ‘generate Invoice’. From here you can download a copy to review or directly send to billing contacts from the platform directly
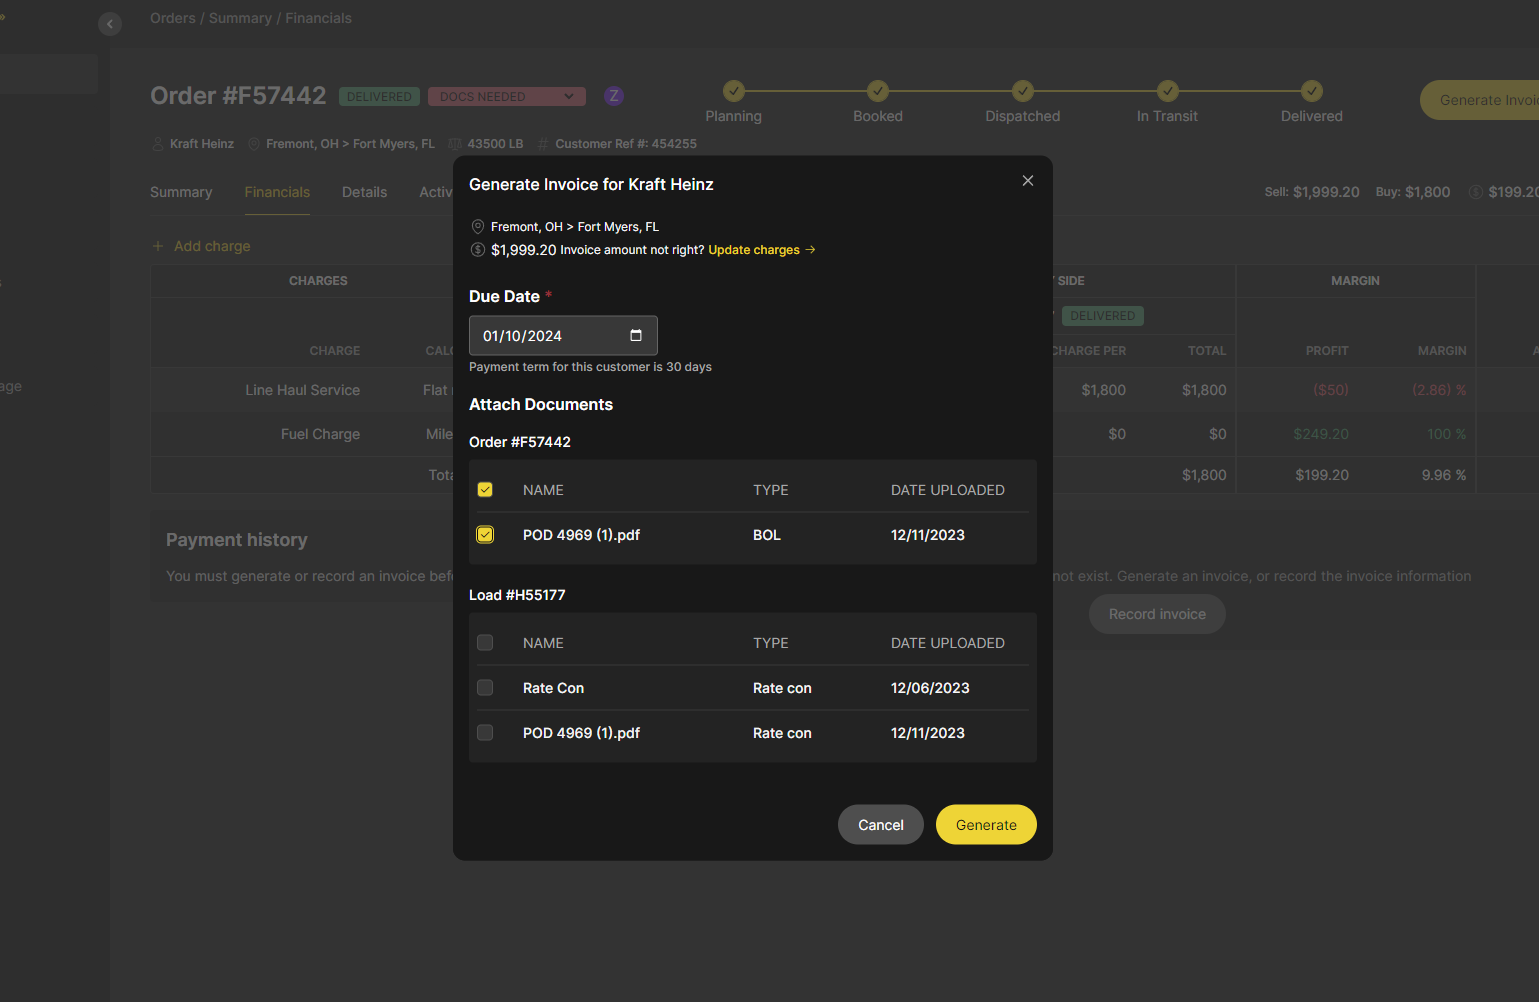
The Due Date will auto populate based on the input Net Terms in the customer profile
You will also be able to attach any other documents associated with the load as well
You will then proceed to send the Invoice, along with any attachments that you chose to add, to your customer billing contacts

Once an invoice is sent, the load will move to the ‘Awaiting Payment’ section
Once Payment has been received, you will want to click on the order # to go into the order and record the payment under the ‘Payment History’ section on the lower left
- Payment Date
- Amount
- Reference ID (if applicable)
- Any additional notes
Once Payment is recorded, it will be transferred to the ‘Paid’ section to allow you to keep track of all your transactions.